How To Make A Digital Bullet Journal
To make a digital bullet journal you firstly need to decide what platform you are going to use. Most people use a digital bullet journal app such as Zinnia or a note taking app such as GoodNotes or Notability with the pre-made templates. I however like to use a dot grid digital notebook as it gives me more creative freedom while bullet journalling. Next you should create an index page and a future log page. Then decide if you are going to make monthly, weekly or daily pages or a combination of the three. Decide on a theme and then start drawing your spreads!
1. Use A Dot Grid Digital Notebook
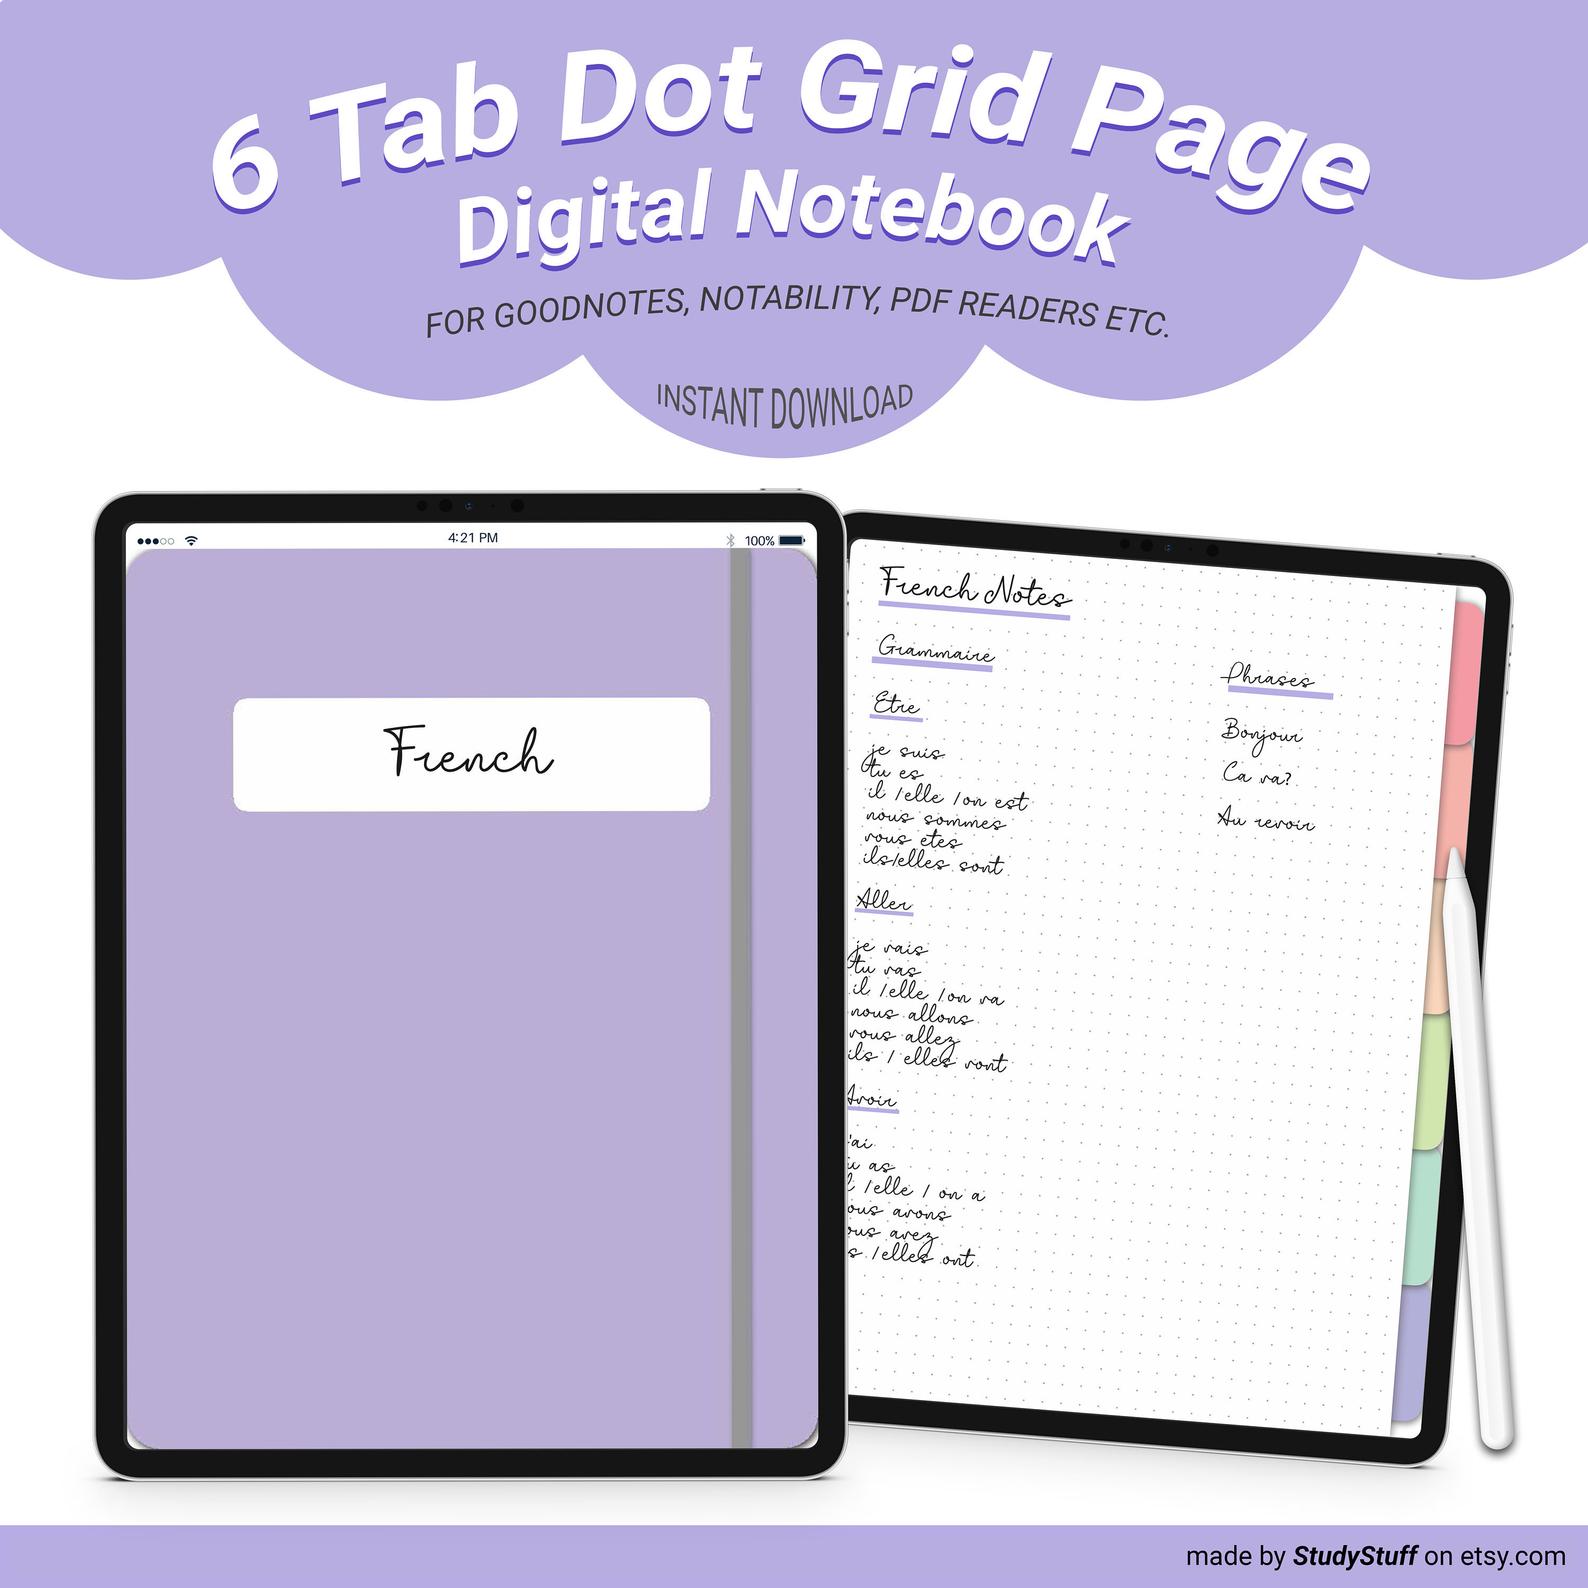
The easiest way to make a digital bullet journal is to use a dot grid digital notebook with hyperlinked tabs. One of these notebooks can work in popular note taking/PDF reading apps such as GoodNotes or Notability. These are really great in comparison to physical bullet journals as you can put an unlimited amount of pages in it! I also really like to use a dot grid digital notebook for bullet journalling as the hyperlinked tabs that are on every page make it very easy for navigation to the divider pages within the notebook.
The dot grid digital notebook that I designed includes:
- 6x Fill In The Blank Title Notebook Cover Pages (red, peach, mustard, green, turquoise, purple)
- Divider Pages for Each Section With White Circle To Write Subtitle/Section Titles
- Rainbow Hyperlinked Tabs on Every Page
- Contents Page – Section Number Circles Are Hyperlinked
- Dot Grid Page For Writing With Hyperlinked Tabs (duplicate as many times as you desire between tabs!)
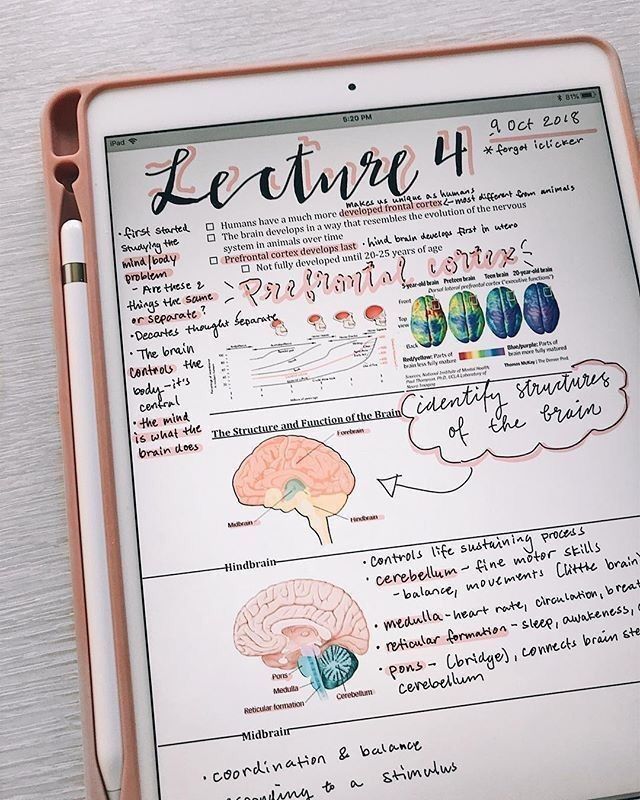
Alternatively you can use a digital bullet journal app such as Zinnia or note taking apps such as GoodNotes and Notability with their pre-made templates however you will not have as much creative freedom using one of these platforms.
2. Create An Index Page
One of the most important pages of a digital notebook is the index page. This will the the very first page of your bullet journal. On your index page you can write down the title of each page you create and then write the page number next to it. This will make your organisation and navigation throughout your bullet journal much faster.
Your digital bullet journal set up will affect how you create your index page. If you are using my digital dot grid notebook I suggest that you use the contents page as the index. Otherwise you can just make it on a new page.
3. Make A Future Log
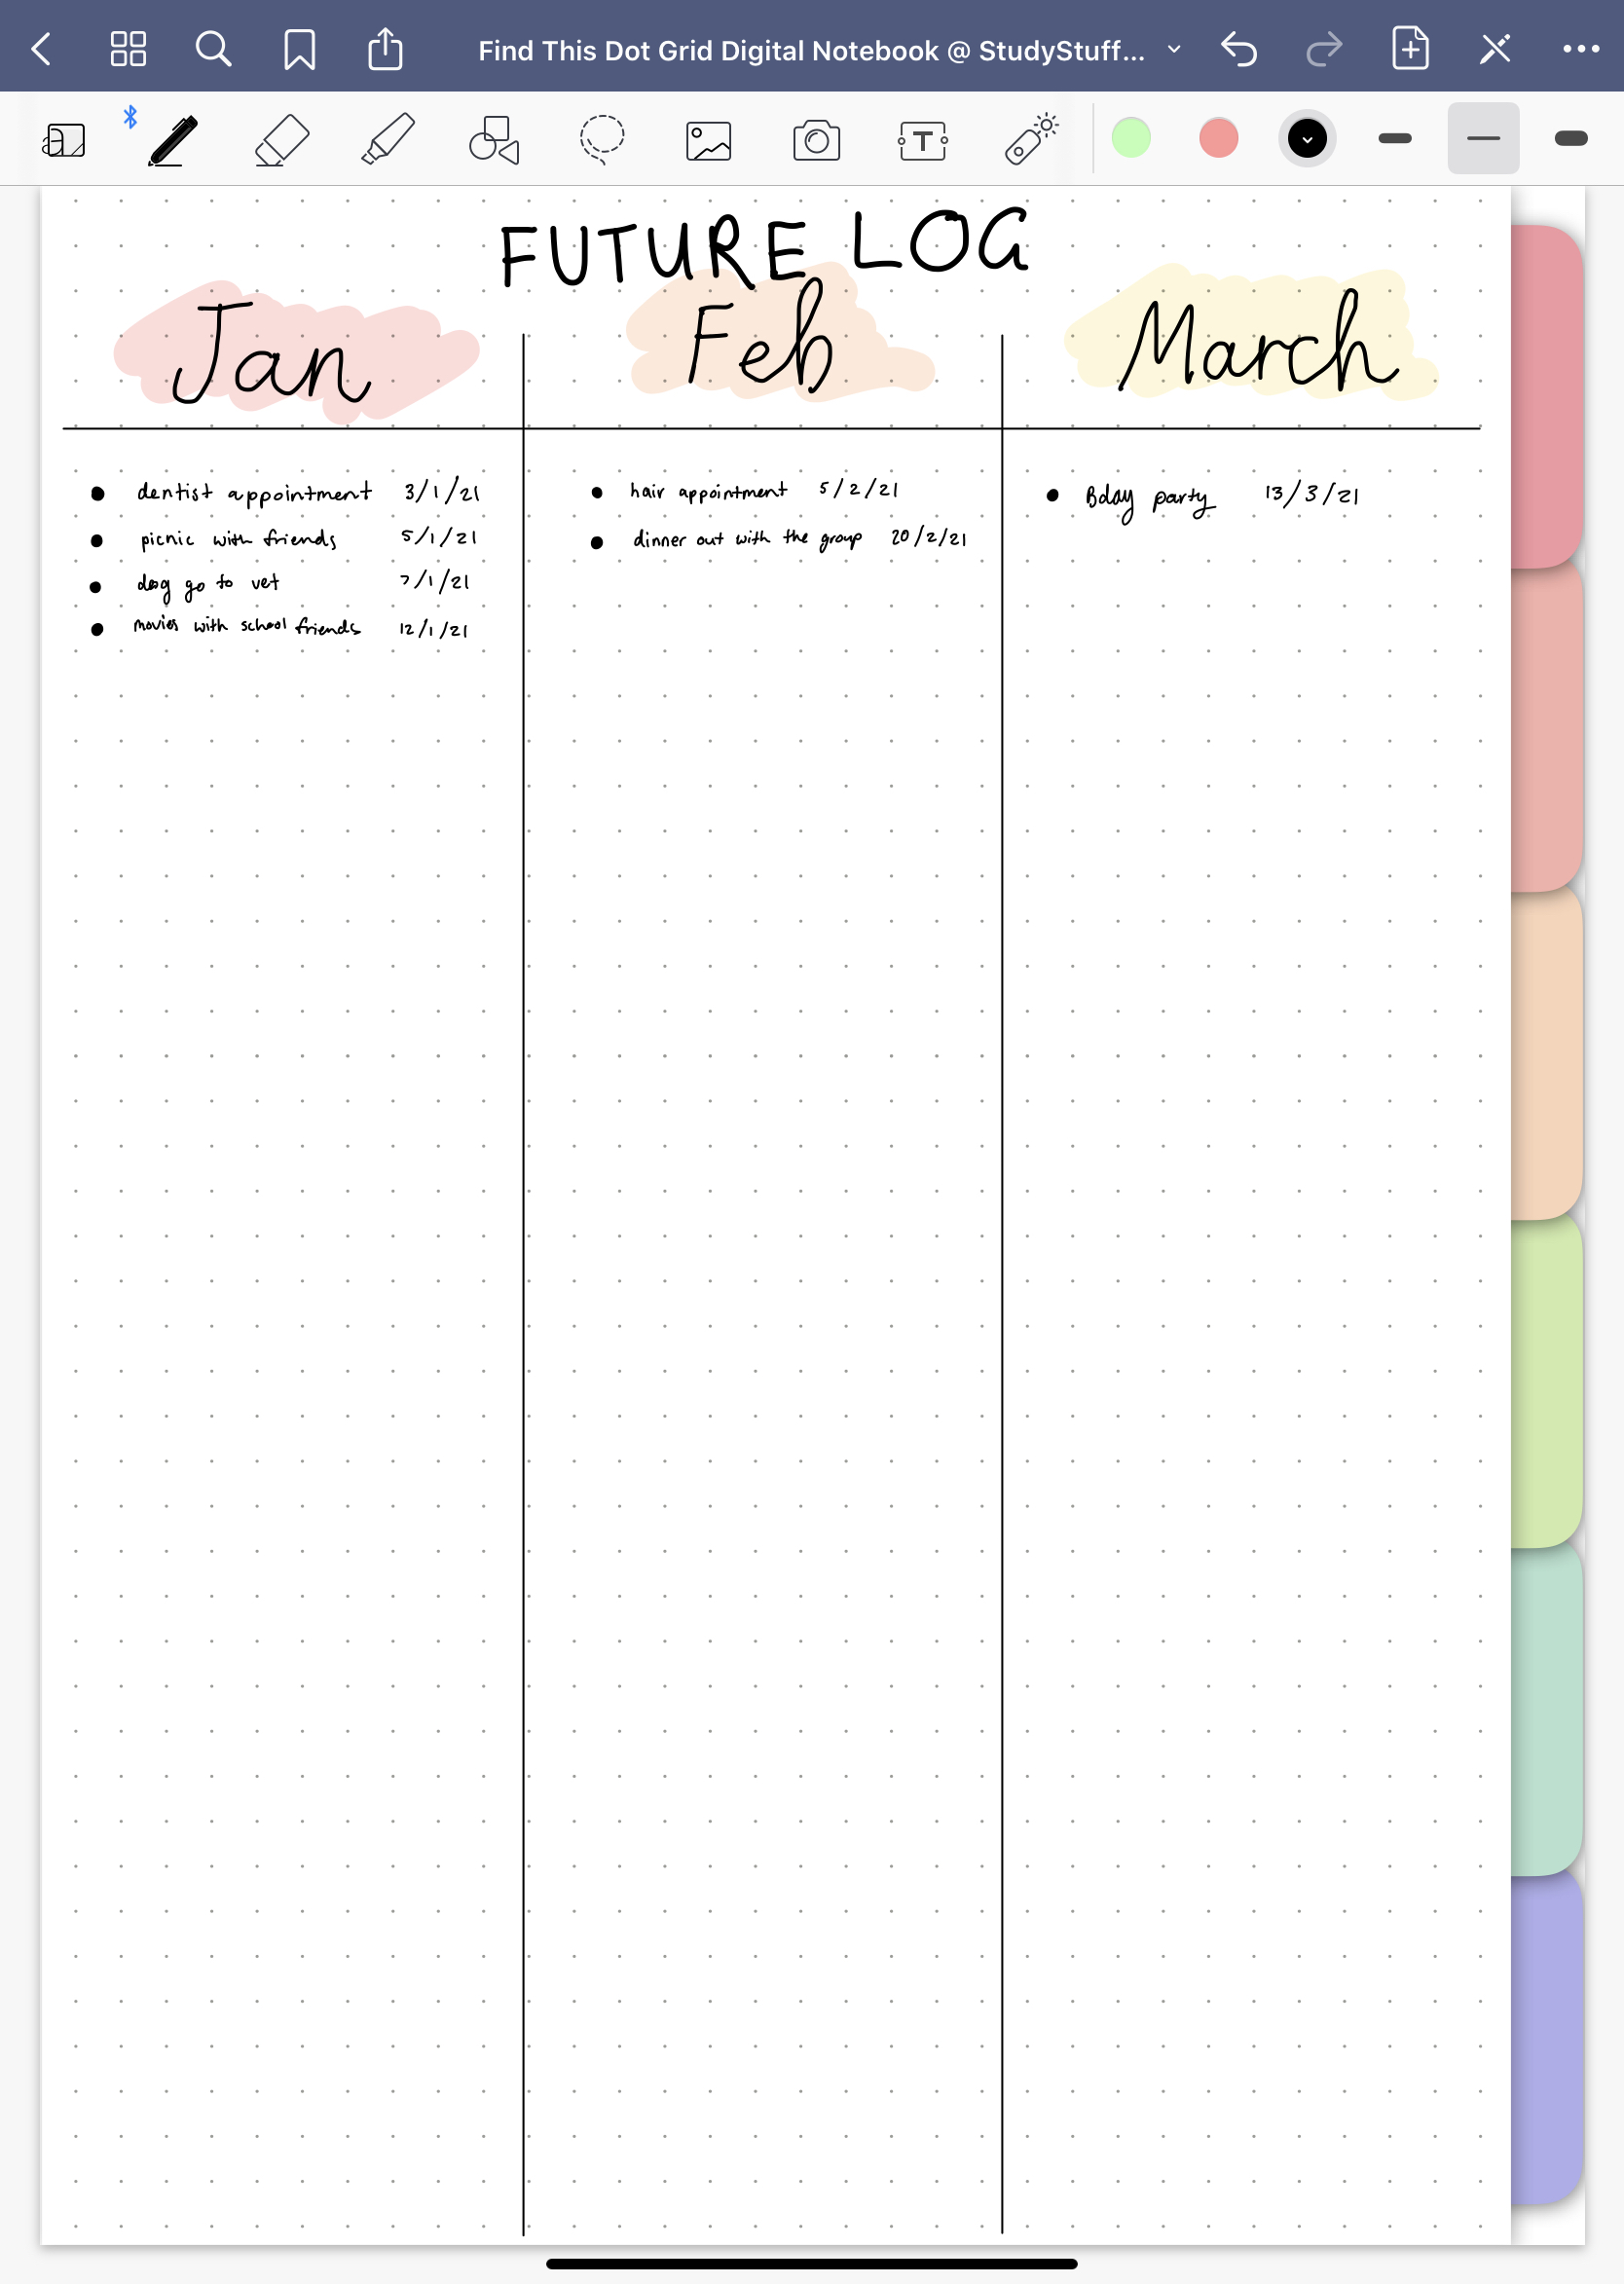
As you can’t just flip six months in advance to write down an appointment in a bullet journal like what you can do in a printed planner (unless you set up a whole year of monthly pages at once), you need to make future log.
A future log is just a page that you can write down all the important dates in the future. It will be a quick and easy reference to look back to when you get around to setting up the real monthly page.
The way that I set up a future log is by dividing my page into equal sections for each future month. It is up to you how far in the future your future log goes, but I suggest somewhere between three to six months. I then draw a horizontal line at the top of the page to make it into a table and write the name of each month at the top of each column. As I find out the date for a future event I jot it down in the column using dot points.
4. Decide If You Are Going To Make Daily, Weekly or Monthly Spreads
Now it’s time for the fun part of bullet journalling – creating your daily, weekly and/or monthly spreads. You don’t need to create them all, most people choose a mix of them in their bullet journals. The most common combinations include a monthly spread + daily spreads or a monthly spread + weekly spreads.
Making monthly and daily spreads is a good option if you like to schedule out your whole day and you want to dedicate a whole page to it. While monthly and weekly spreads are better for people who like to roughly plan their week and not go into too much detail each day.
5. Choose Your Theme For The Month
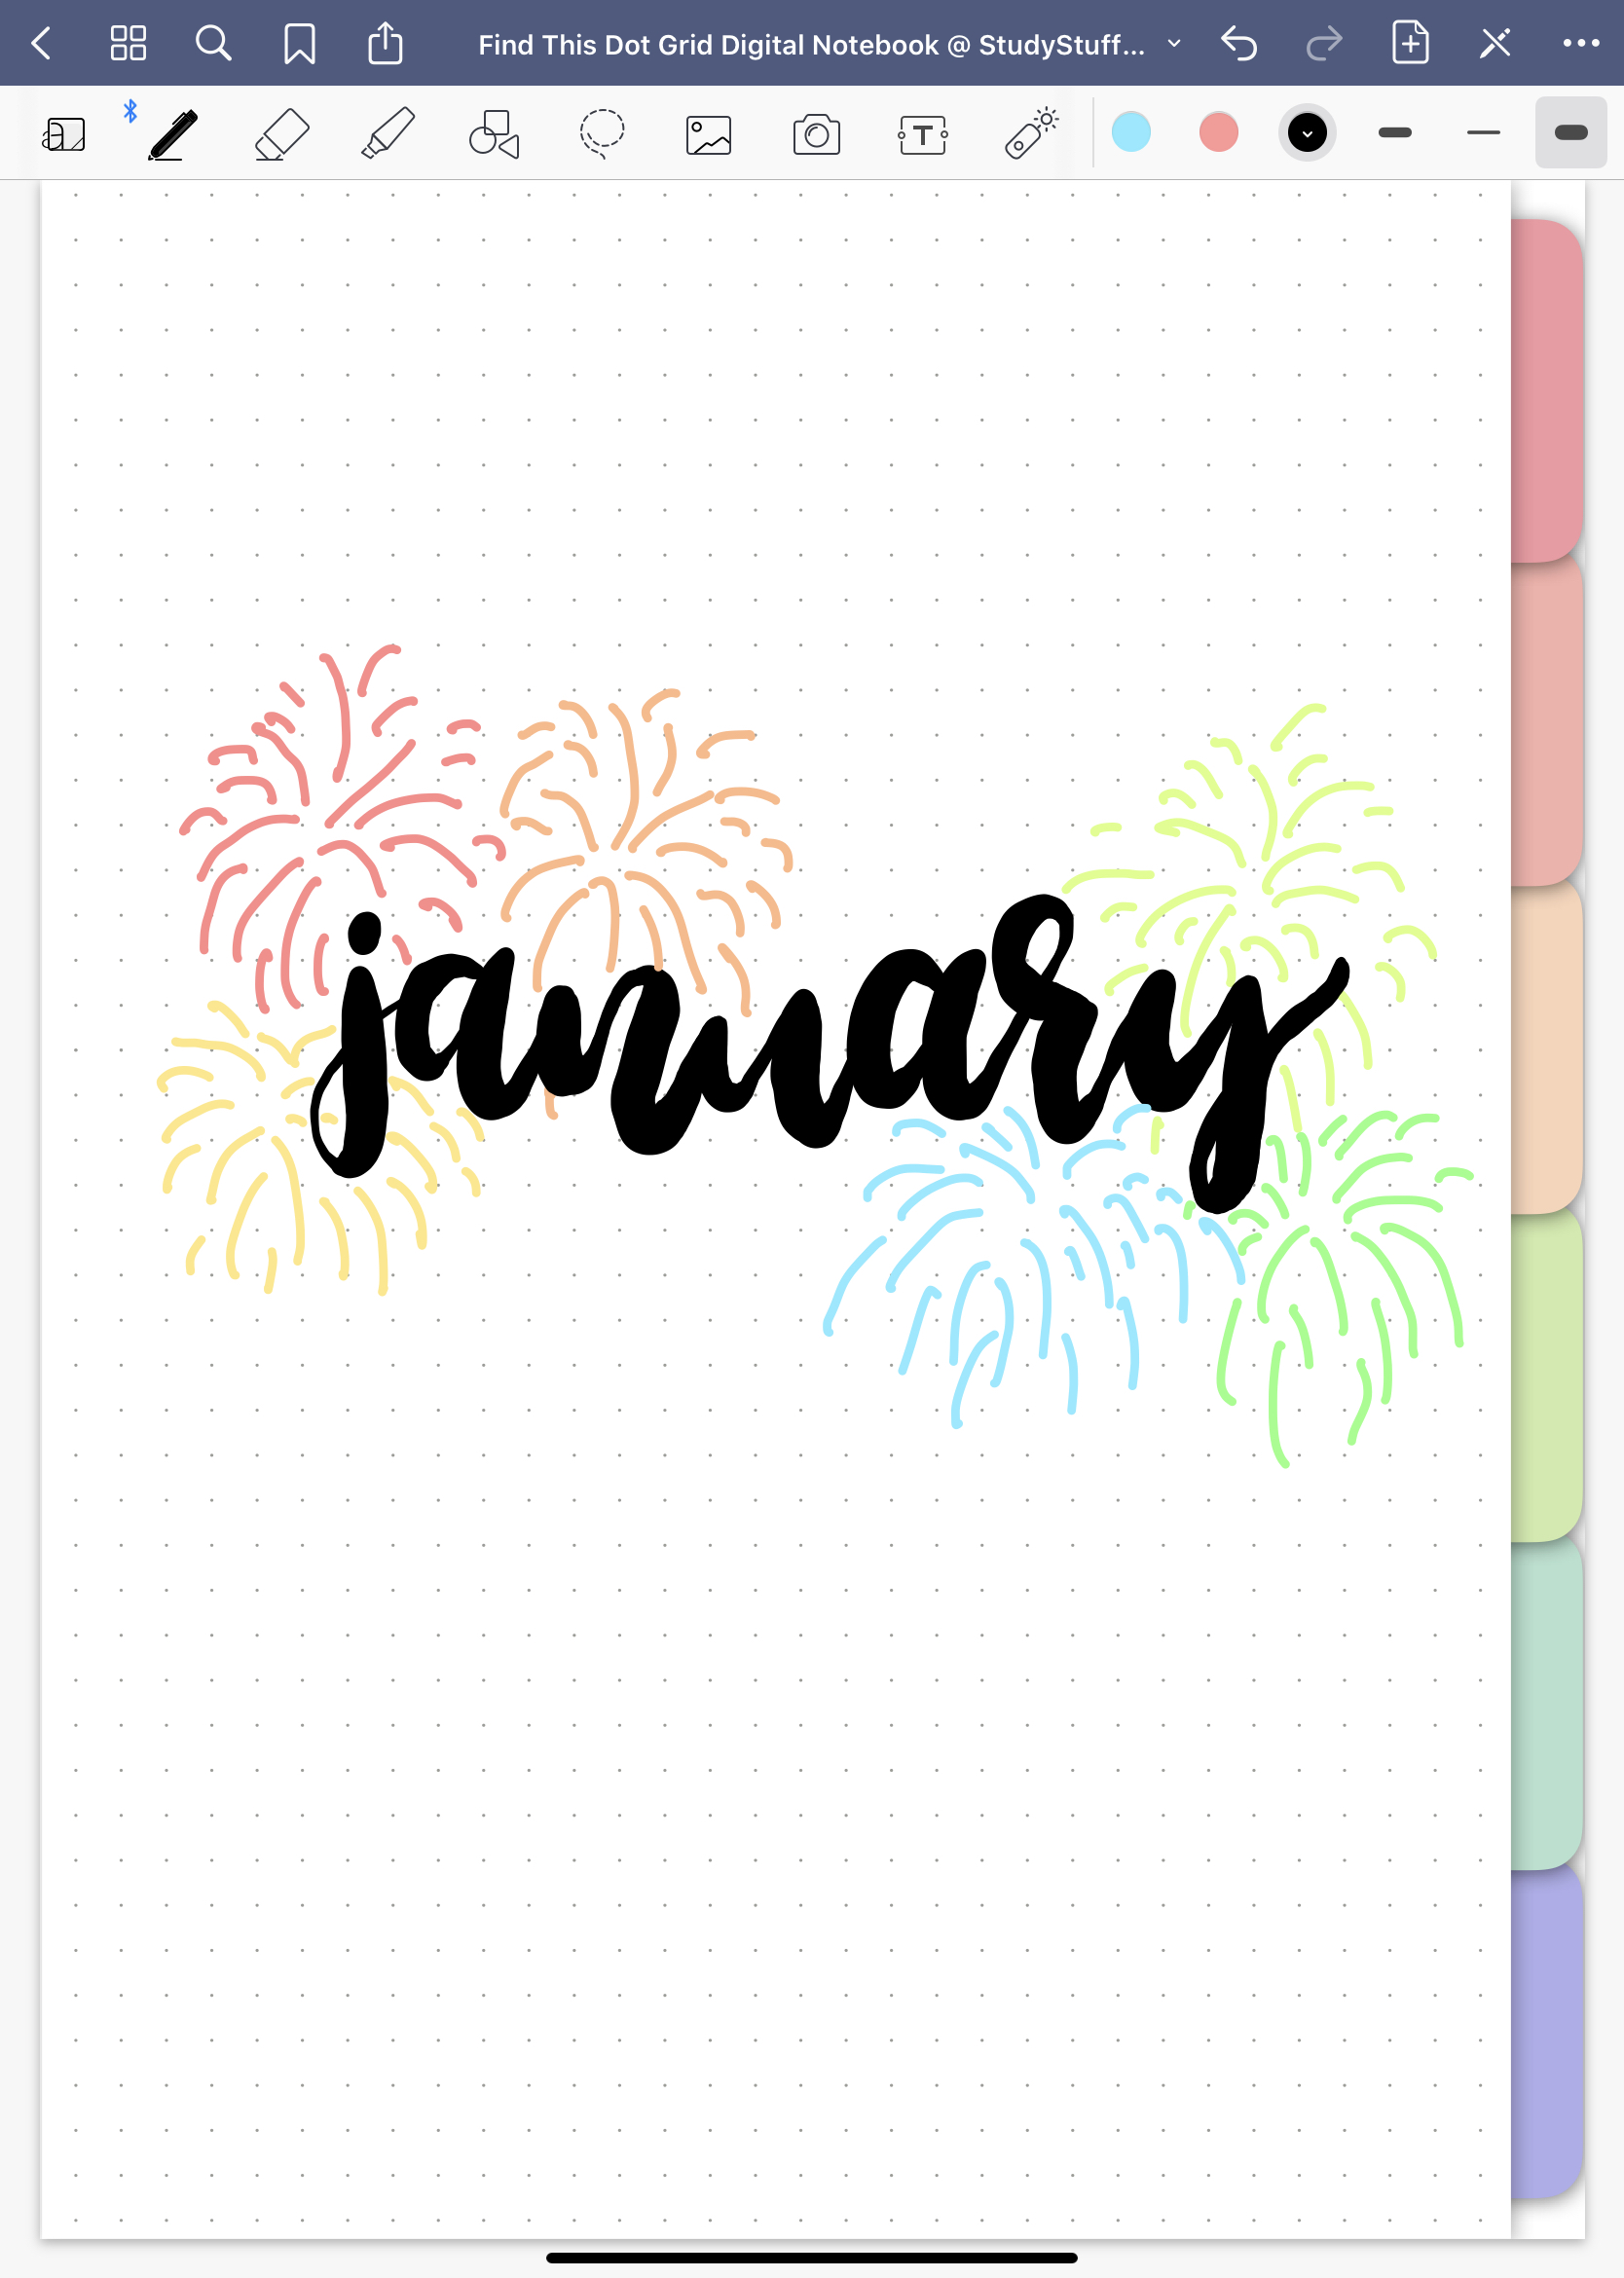
I think the best thing about bullet journalling is the amount of creativity you can give to it each month. The most exciting thing about bullet journalling whether you do it digital or in a paper planner is choosing your theme for the month.
Here are some ideas for bullet journal themes:
- Penguins
- Snowflakes
- Sunflowers
- Leaves
- Butterflies
- Bees
- City
- Sports
- Watermelon
- Pineapple
- Ice Cream
- Camping
- Celebrations e.g. Christmas, Easter, Mother’s Day, New Year’s Eve etc.
6. Set Up Your Spreads
Now that you have chosen your theme for the month all you need to do is start setting up your spreads. I usually like to do it in this order: month title page, month calendar, daily/weekly planning pages.
7. Create Additional Pages Such As Trackers, Planners & Logs
Another popular aspect about bullet journaling are the additional pages that you can create that you would not find in an ordinary diary. The pages you create are limited to your imagination but if you are stuck here are some common pages that people create:
- Gratitude log
- Habit tracker
- Dream log
- Expenses tracker
- Birthday tracker
- Meal planning
- Goals planner
- Health/exercise tracker
- A year in pixels mood tracker
- Etc.
Read Also: 61 Habits To Track In Your Bullet Journal!
Further Reading
Looking For A Tapestry For Your Dorm Room But Have No Idea What Size To Get? Dorm rooms are on average …
If you take notes using your iPad, you need to know these 12 iPad note taking tips! They will make …
Yes, an iPad is worth it for note taking, especially if you are going to make the most out of …
Going shopping for your dorm room but you are not sure what essentials to buy? Essentials for a dorm room include …
To make studying a habit you should commit to it for at least thirty days, put your study goal in …
Got An Important Exam Coming Up But You're Not Sure How To Prepare? To prepare for an exam one should start …

