The Best Way To Set Up Your Language Learning Notebook
The best way to set up your language notebook is to divide your notebook into these 5 sections: goals, grammar, vocabulary, writing and miscellaneous. The goals section would take about 1-3 pages out of your notebook and then the rest can be split into four even sections. For each section I suggest creating a title page and maybe even covering the edges of the page with washi tape to allow for easy organisation and to increase your flipping through speed. You can also create a mini-contents table on the second page of each section to make the navigation and organisation of your language notebook even more precise.
Why should I bother organising my language notebook?
It is a great idea to have one notebook for language learning and then organise it into sections. This will aid your learning as everything will be in one place and if you ever need to refer back to something you will know where it is. For example if you wanted to look back at some vocabulary lists and revise them you could simply go to the vocabulary section of your book. This is much quicker and easier than flipping through a whole unorganised notebook of jumbled up notes.
Furthermore, keeping a language notebook is super motivating as it can act as a creative outlet, especially if you do a lot in the writing section! A notebook paired with the goals section can encourage you to keep on learning by setting achievable goals and also making language learning fun by adding unlimited images, diagrams and colours to your notes!
Goals Section
You only need a few pages at the front of your notebook for the goals section. Here you define SMART language learning goals to motivate you to learn.
A SMART goal stands for:
- S – specific
- M – measurable
- A – achievable
- R – realistic
- T – time bound
You can learn more about how to set SMART goals for language learning by reading my detailed article on it here.
Grammar Section
For the next sections of your notebook, I suggest dividing your notebook into 4 even sections and creating a title page for each.
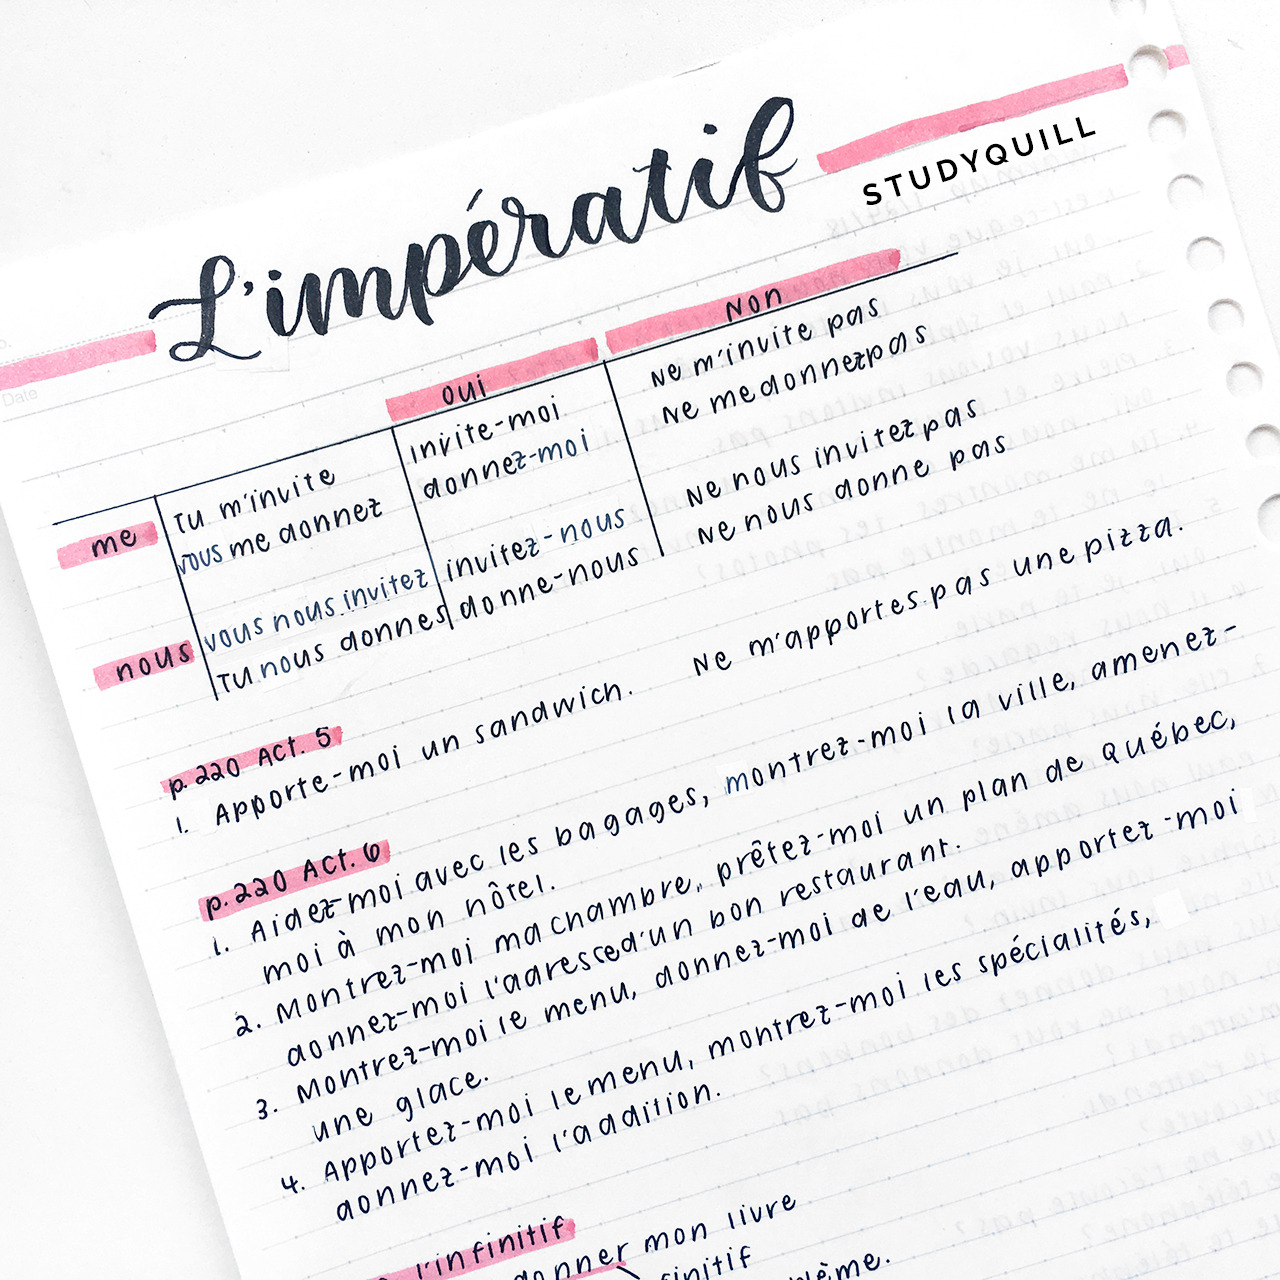
The grammar section is obviously the place where you write down all the new grammar rules that you learn. To make yourself even more organised I suggest creating bold headers for each new rule and starting a new page for each one as well.
You can also create a mini contents page on the back side of your title page for the grammar section. If you number each page of the grammar section you can write the page number next to the title in a list format to create the contents. In the future you can use it to easily refer back to and find relevant information.
Vocabulary Section
Within the vocabulary section there are many options for ways that you can organise lists. These are the three best ways:
1. vocabulary list with revision tracker
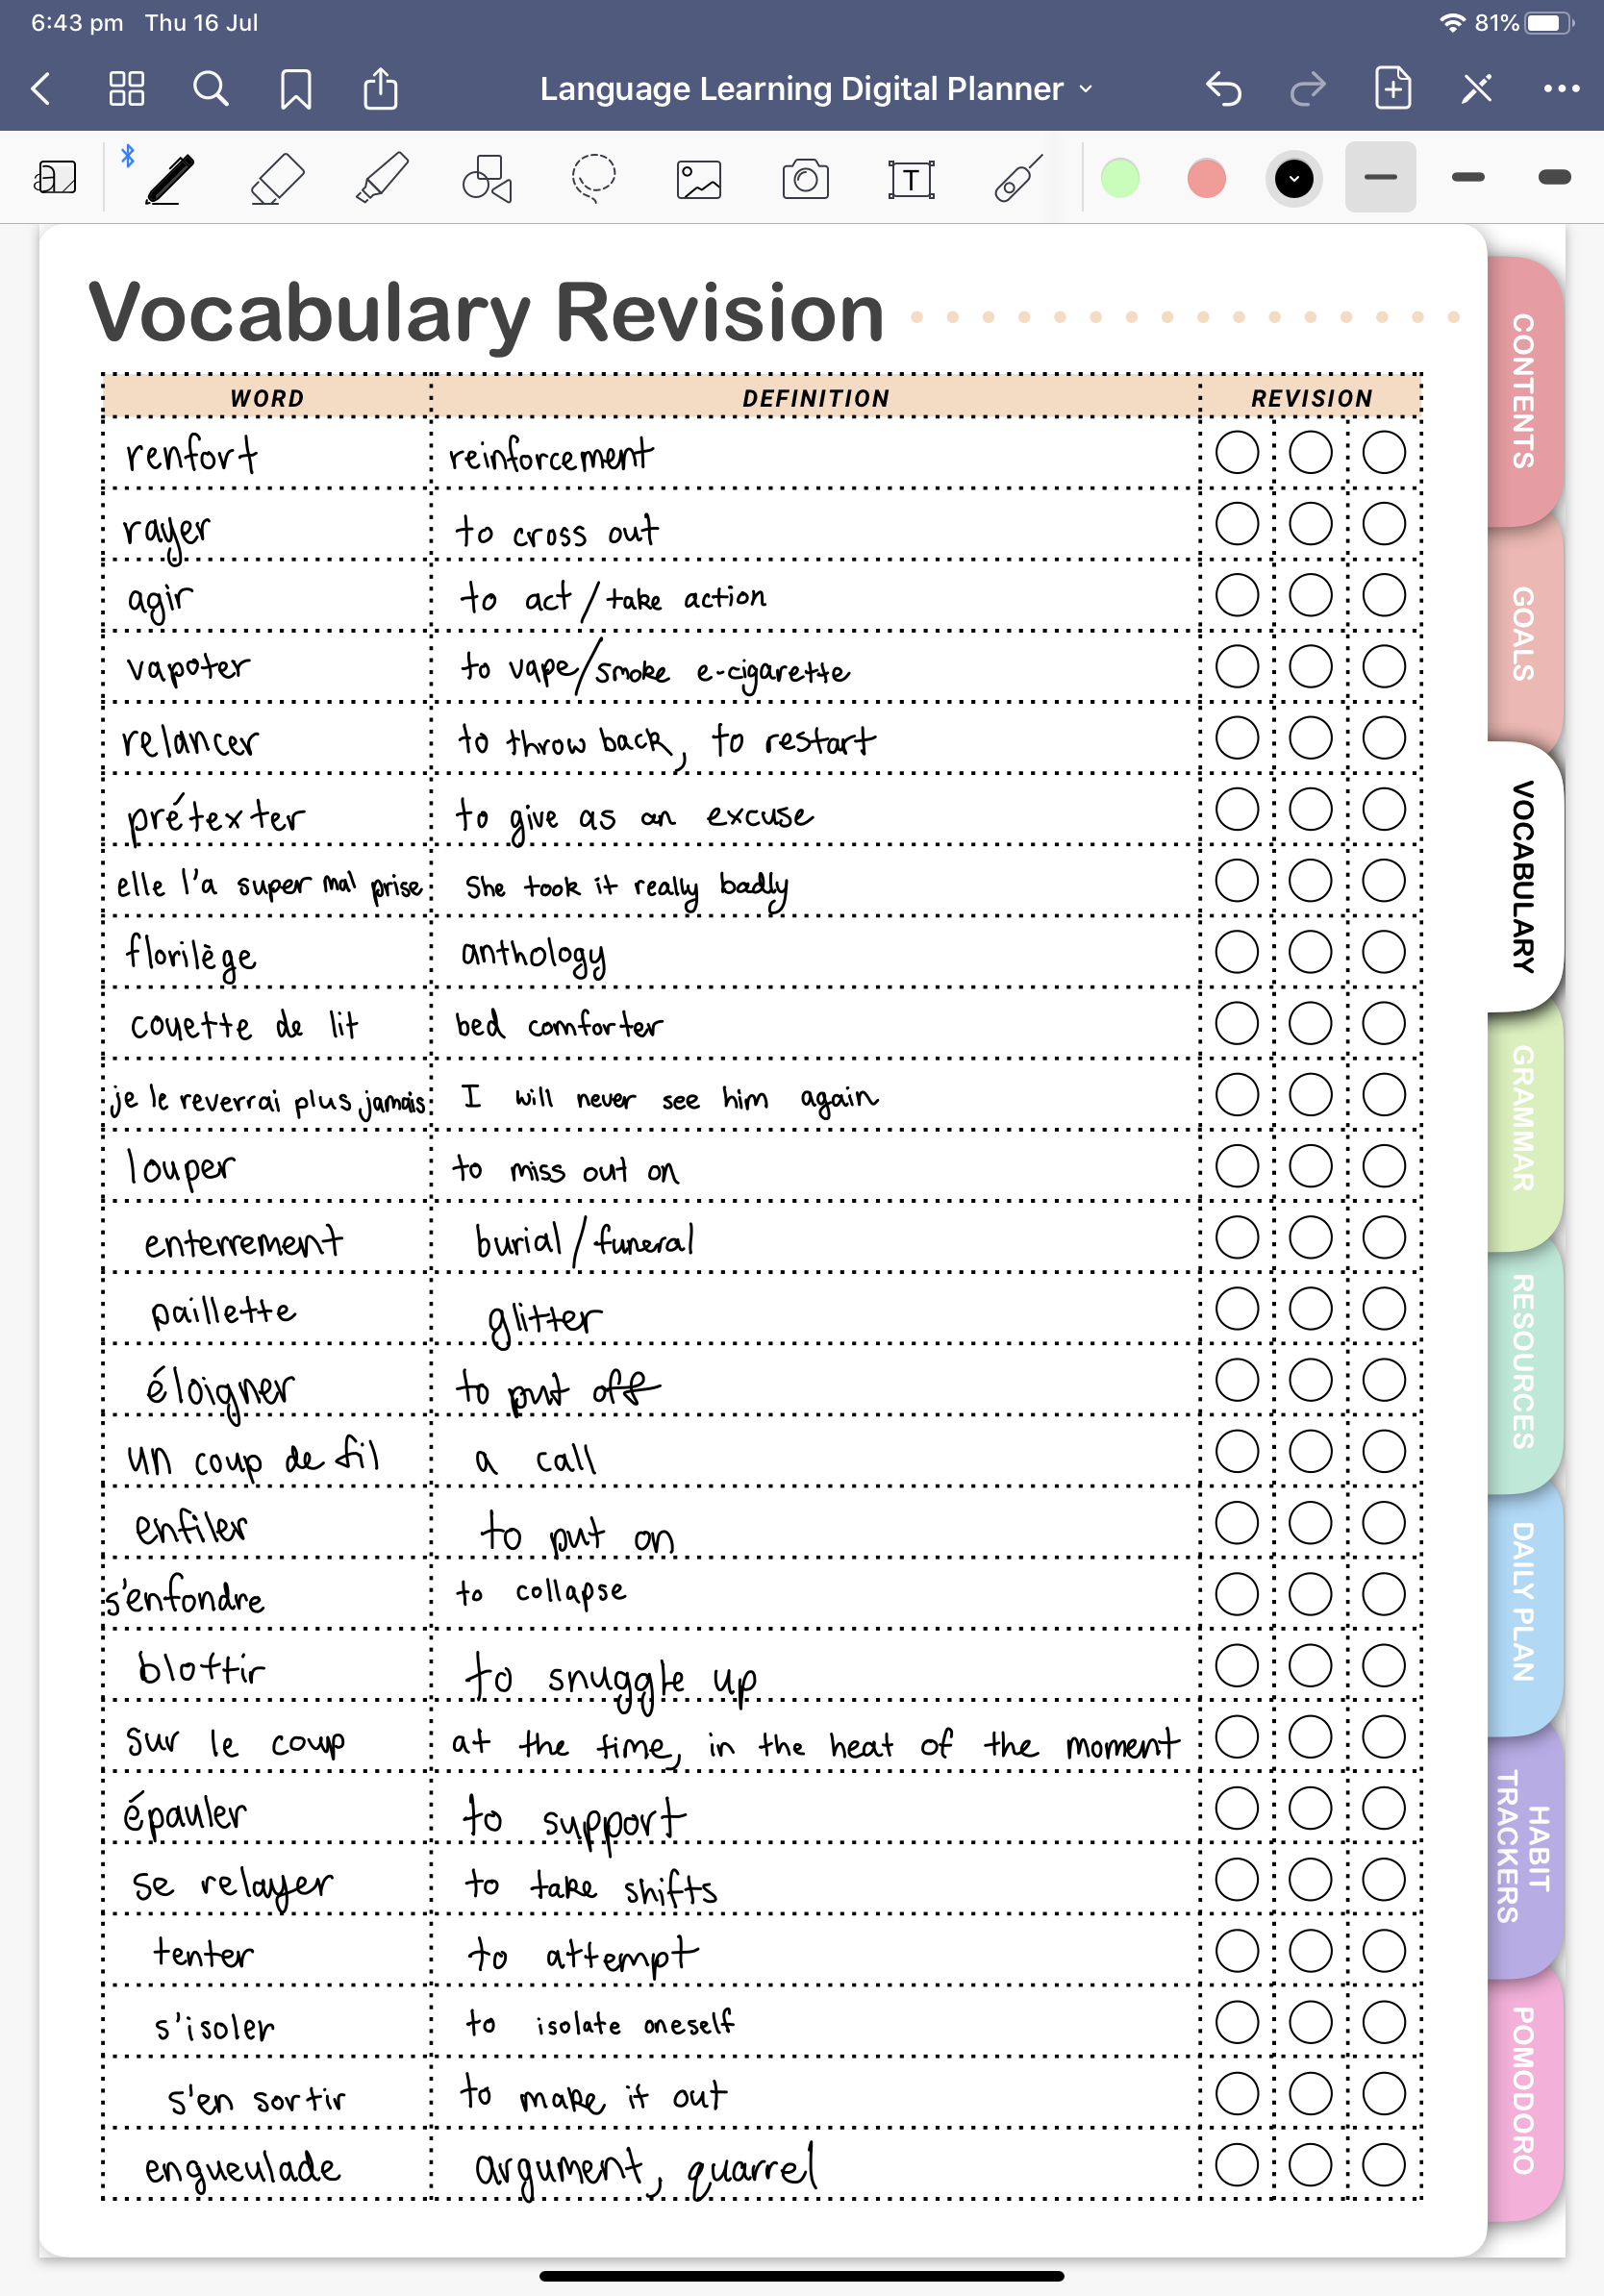
For this list style you simply divide your page into 3 columns and use the paper’s lines as the row lines. If your notebook isn’t lined you can always draw them in. You label the header row for each column with word, definition and revision tracker. Then within the revision tracker column you can split it into even more columns, each new table cell representing a time to study. Then simply put a tick or a cross in each revision tracker cell as you study the words.
Here is a photo of this style of formatting in my digital language learning planner below however you could totally replicate this on paper!

This is my favourite way to create a vocabulary list as it acts as a study tool as well. It takes the concept of spaced repetition into your vocabulary learning through the revision tracker by encouraging you to study your vocab multiple times over many days.
2. words and definitions in target language
My next preferred method of making vocabulary lists is to create a table of two columns one for the word and the other for the definition of the word but in your target language not English. You make the word column about a quarter of the page and the definition column about three-quarters.
3. look, cover, write and check vocabulary list
The final type of vocabulary page set out that I find useful is the look, cover, write and check format. This is the same method you probably used during primary school to learn your vocabulary however it instead for foreign language words. For this layout you can have as many columns as you like, depending on the amount of times you want to revise your vocabulary. I would say that 4 columns is a good amount which allows you to write the correct spelling of words out once and then practise them three times.
When you revise your vocabulary list all you need to do is choose one word, cover it up, write it out and then check that you have spelled it correctly.
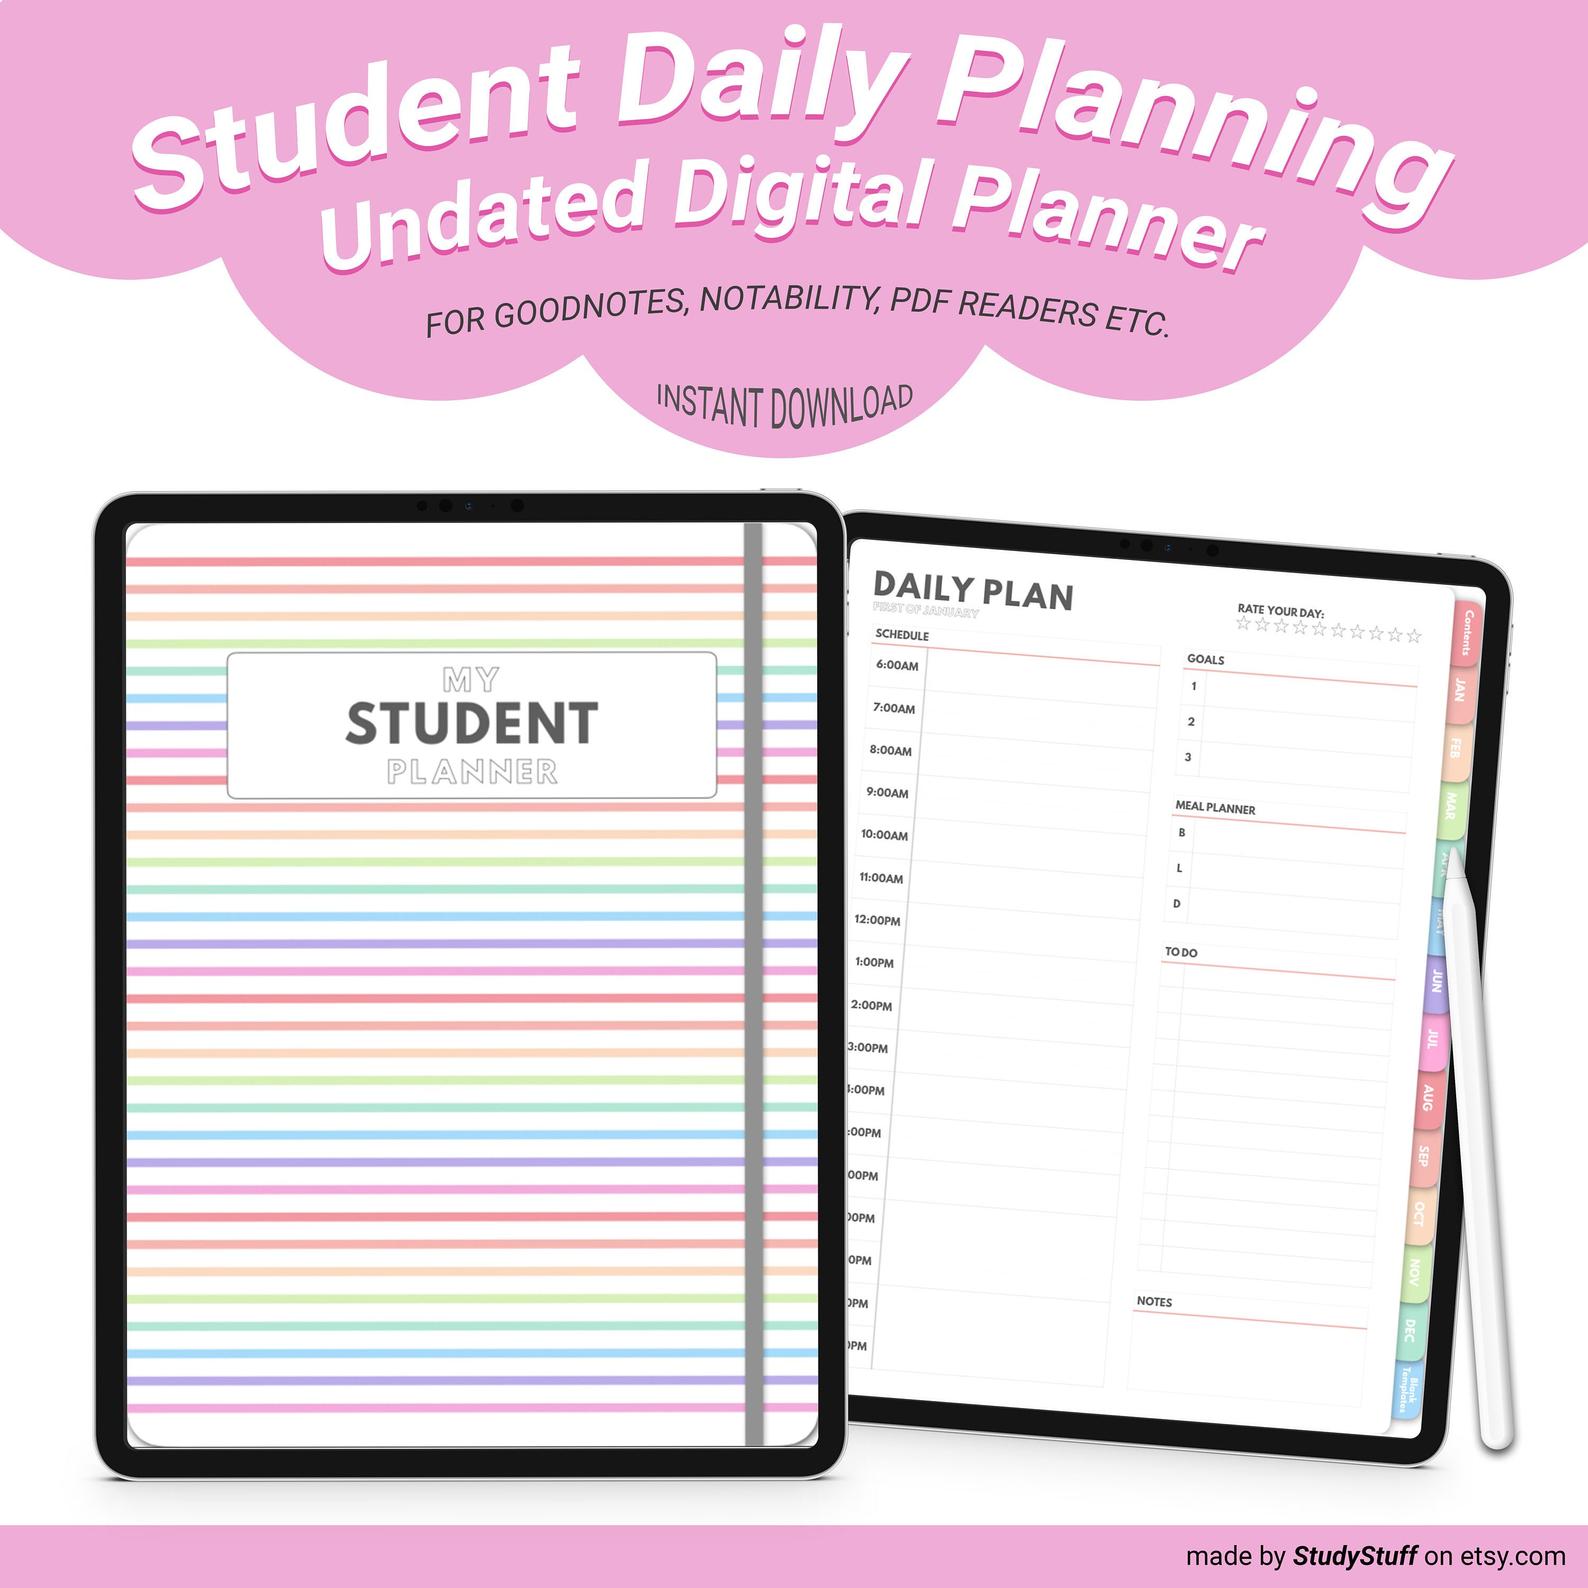
If you like digital planning with an iPad Pro/tablet I highly suggest that you get my digital language learning planner as it has all of these templates for vocabulary learning! It’s great because you can duplicate them as many times as you like and then you won’t have the worry of setting up a table in your notebook each time you make a new vocabulary list.
Writing Section
The next section that I would suggest that you include in your language notebook is a writing section. You don’t need to set up any tables or templates in this section, all you need to do is practise your writing skills!
You could do heaps of different writing activities such as:
- creative writing piece
- poem
- dialogue
- short story
- recount of your day/holiday
- letter to your future self
Miscellaneous Section
The miscellaneous section in your physical language notebook would be for extra activities that you might do during a language class for example listening activities, dictations or other miscellaneous notes that don’t fit into the other categories.
The equivalent of this in the digital language learning planner would be the range of note taking pages that are included in it that you can duplicate and put anywhere throughout your planner.
But it takes so long to set up a language notebook!
Yes that is true however it can be a very therapeutic experience for some, much like bullet journalling. And I have a fantastic solution for people who don’t have enough time on their hands!!!
Get a digital language learning planner or a printable language learning planner!
Instead of spending heaps of time setting up pages in your language notebook you could use a printable or digital planner which has everything that you could possibly need as a language learner!
You can learn heaps more about my language planner by reading this in depth article here!
Before You Go!
Are you preparing for the new academic year?
Try out a digital student planner with hyperlinked tabs for iPad/tablet to help you stay on track to achieving your academic goals!

Join more than 1,212,346 people from 192 countries and learn a new language at your own pace at Rocket Languages!
Check Out The Online Courses Below:
Or Join A Live Online Language Learning Class With Real Teachers On Lingoda!
Check Out The Online Courses Below:
The best ways to learn a language without going to classes include: watching foreign language films on Netflix, using a …
There are many different note taking methods that can work well for language learning. To take effective notes for language …
If you are working full time and you want to learn a language, you need to make the most of …
Kinesthetic learners are the most physical of all learning styles meaning they absorb information through movement, touch and motion. Therefore, …
65% of the population are visual learners and therefore learn best by using images, graphics, colours, computers, books and other …
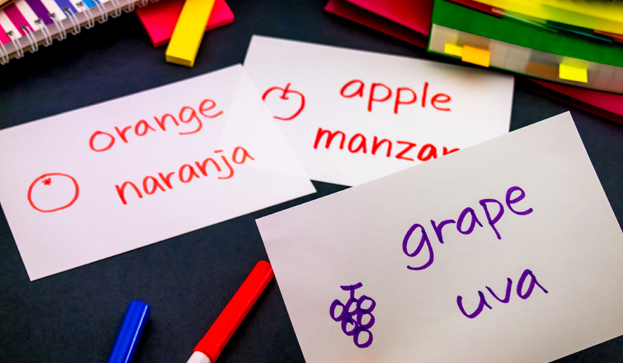
Flashcards are effective for language learning if you make and study them in the correct way. This is by making …


